 |
| Supplies: An old t-shirt (I had tie-dyed mine...it doesn't matter), pencil, scissors, ruler, and tape |
Step 1: You are going to cut off the bottom of the shirt where it is hemmed. You are going to cut off just enough so that all of the bottom hem has been cut off. (about an inch of fabric) Mine is pictured below:

So this is what the shirt looks like with out the hem on the bottom (In the picture it looks basically the same)

And if your wondering what I am talking about when I say "bottom hem" it's the thing above right there. So its just like the sewing on the bottom. Oh and on my nails is nicole by opi in play fair :)
Step 2: Tape and Cut
So basically you are going to try the shirt on and mark where you would like your fashionable fringe to start. I did it with a pencil so it will wash out. Then once you mark it, your a going to take a peice of tape the width of your shirt and line it up where the pencil mark is....make sure its straight! If your wondering why I didn't just put a pencil line across the whole shirt, I cannot make a straight line for the life of me. Anyway, next you are going to start near the edge of the shirt and cut a line up to the tape. Then using your ruler, you are going to go about a half-inch away and cut a parallel line. It should look like this:

Step 3: The Knotting Begins
So now begins the cool part. So basically all you do is make one knot at the base of the strand (about where the tape ends), and then make another halfway down the strand...Which looks like this:

Sorry that its not too visible...
Step 4: Repeat
Okay so basically all your going to do now is steps 2 and 3 all around the bottom of the shirt! It is actually really easy but it will take a long time. I recommend watching tv or listening to music while you finish this project. Here are some more pictures:
 |
| Just starting |
 |
| Little over halfway! |
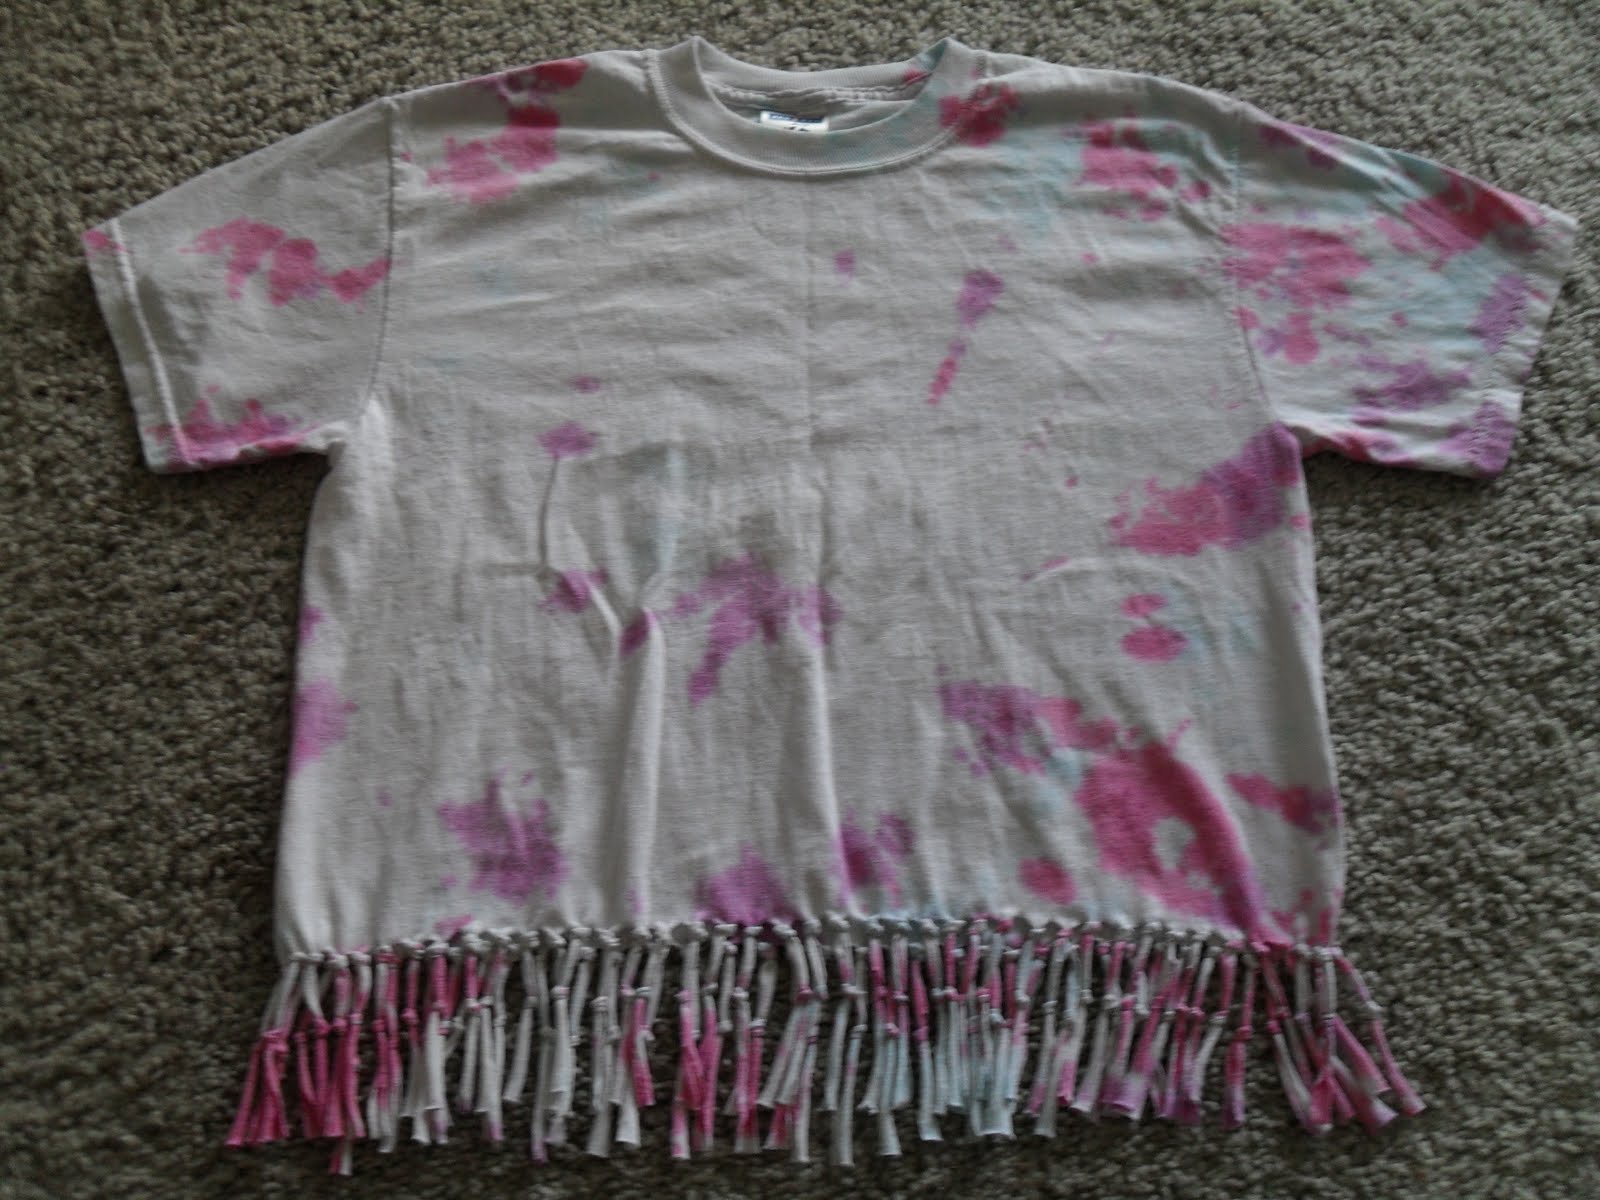 |
| Finally, It's finished! |
 |
| Dun Du-Du-Dun!!!!! |
Thank you for reading my first ever DIY blog! Comment if you would like more!!!!
Love,
Jenn
i like this! defs trying it soon :)
ReplyDeletehttp://canbernard.blogspot.com